NETGEAR EX6000 SETUP
Netgear EX6000 Setup | AC750
For Netgear EX6000 AC750 Setup, follow these steps:
The Netgear EX6000 Wifi Extender must first be turned on.
Link the ends of the current router and the EX6000 extender with an ethernet cable.
Link to NETGEAR_EXT with any wifi computer, such as a laptop or a smartphone.
The LED light on the Netgear EX6000 will flash solid green until it is paired.
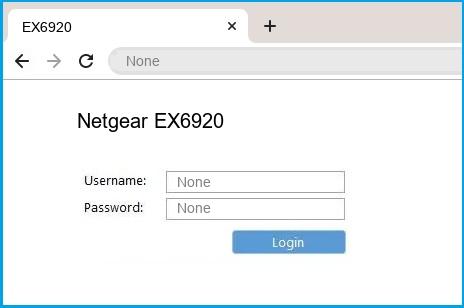
Open any internet browser and type mywifiext.net into the address bar.
Now it's your turn. To begin, simply press the NEW EXTENDER SETUP button on the Netgear EX6000 Setup.
To instal the Netgear EX6000 AC750, simply follow the on-screen instructions.
Complete the Netgear Extender Setup and you're finished.
You have now completed the installation of the Netgear AC750. If you run into any problems when setting up your Netgear Extender, simply call our toll-free number.
Netgear EX6000 AC750 Setup Firmware Upgrade
Follow the measures below to update the Netgear EX6000 AC750 Setup Firmware:
Connect your router to your Netgear EX6000.
Make sure they're all turned on.
Open a web browser on any computer, such as a smartphone or a laptop.
Visit mywifiext.net for more information.
On the tab, look for the Firmware Upgrade option.
To update the Netgear EX6000 AC750 Firmware, press the Update Now button.
Comments
Post a Comment